From Ruled to Unruled: A Digital Eraser for Your Scanned Notes
Hey everyone! Ever look at your beautifully handwritten notes, scan them to your computer, and then sigh at the result? Suddenly, your brilliant thoughts are trapped behind a cage of blue or gray ruled lines. It’s messy, distracting, and if you ever want to convert that handwriting to text using OCR, those lines are a real troublemaker.
This is the first part of a series where we'll explore the journey from messy, real-world scribbles to clean, structured, and useful digital content. And our first mission, should we choose to accept it, is to get rid of those pesky lines.
So, how do we do it? We’re going to build a "digital eraser" using a bit of computer vision magic with Python and OpenCV. The goal is to intelligently identify and remove only the horizontal and vertical lines from the page, leaving your precious handwriting perfectly intact. It’s like telling the computer, "See these lines? Make them disappear, but don't touch anything else!"
The Strategy
Our strategy is pretty straightforward and can be broken down into three main phases:
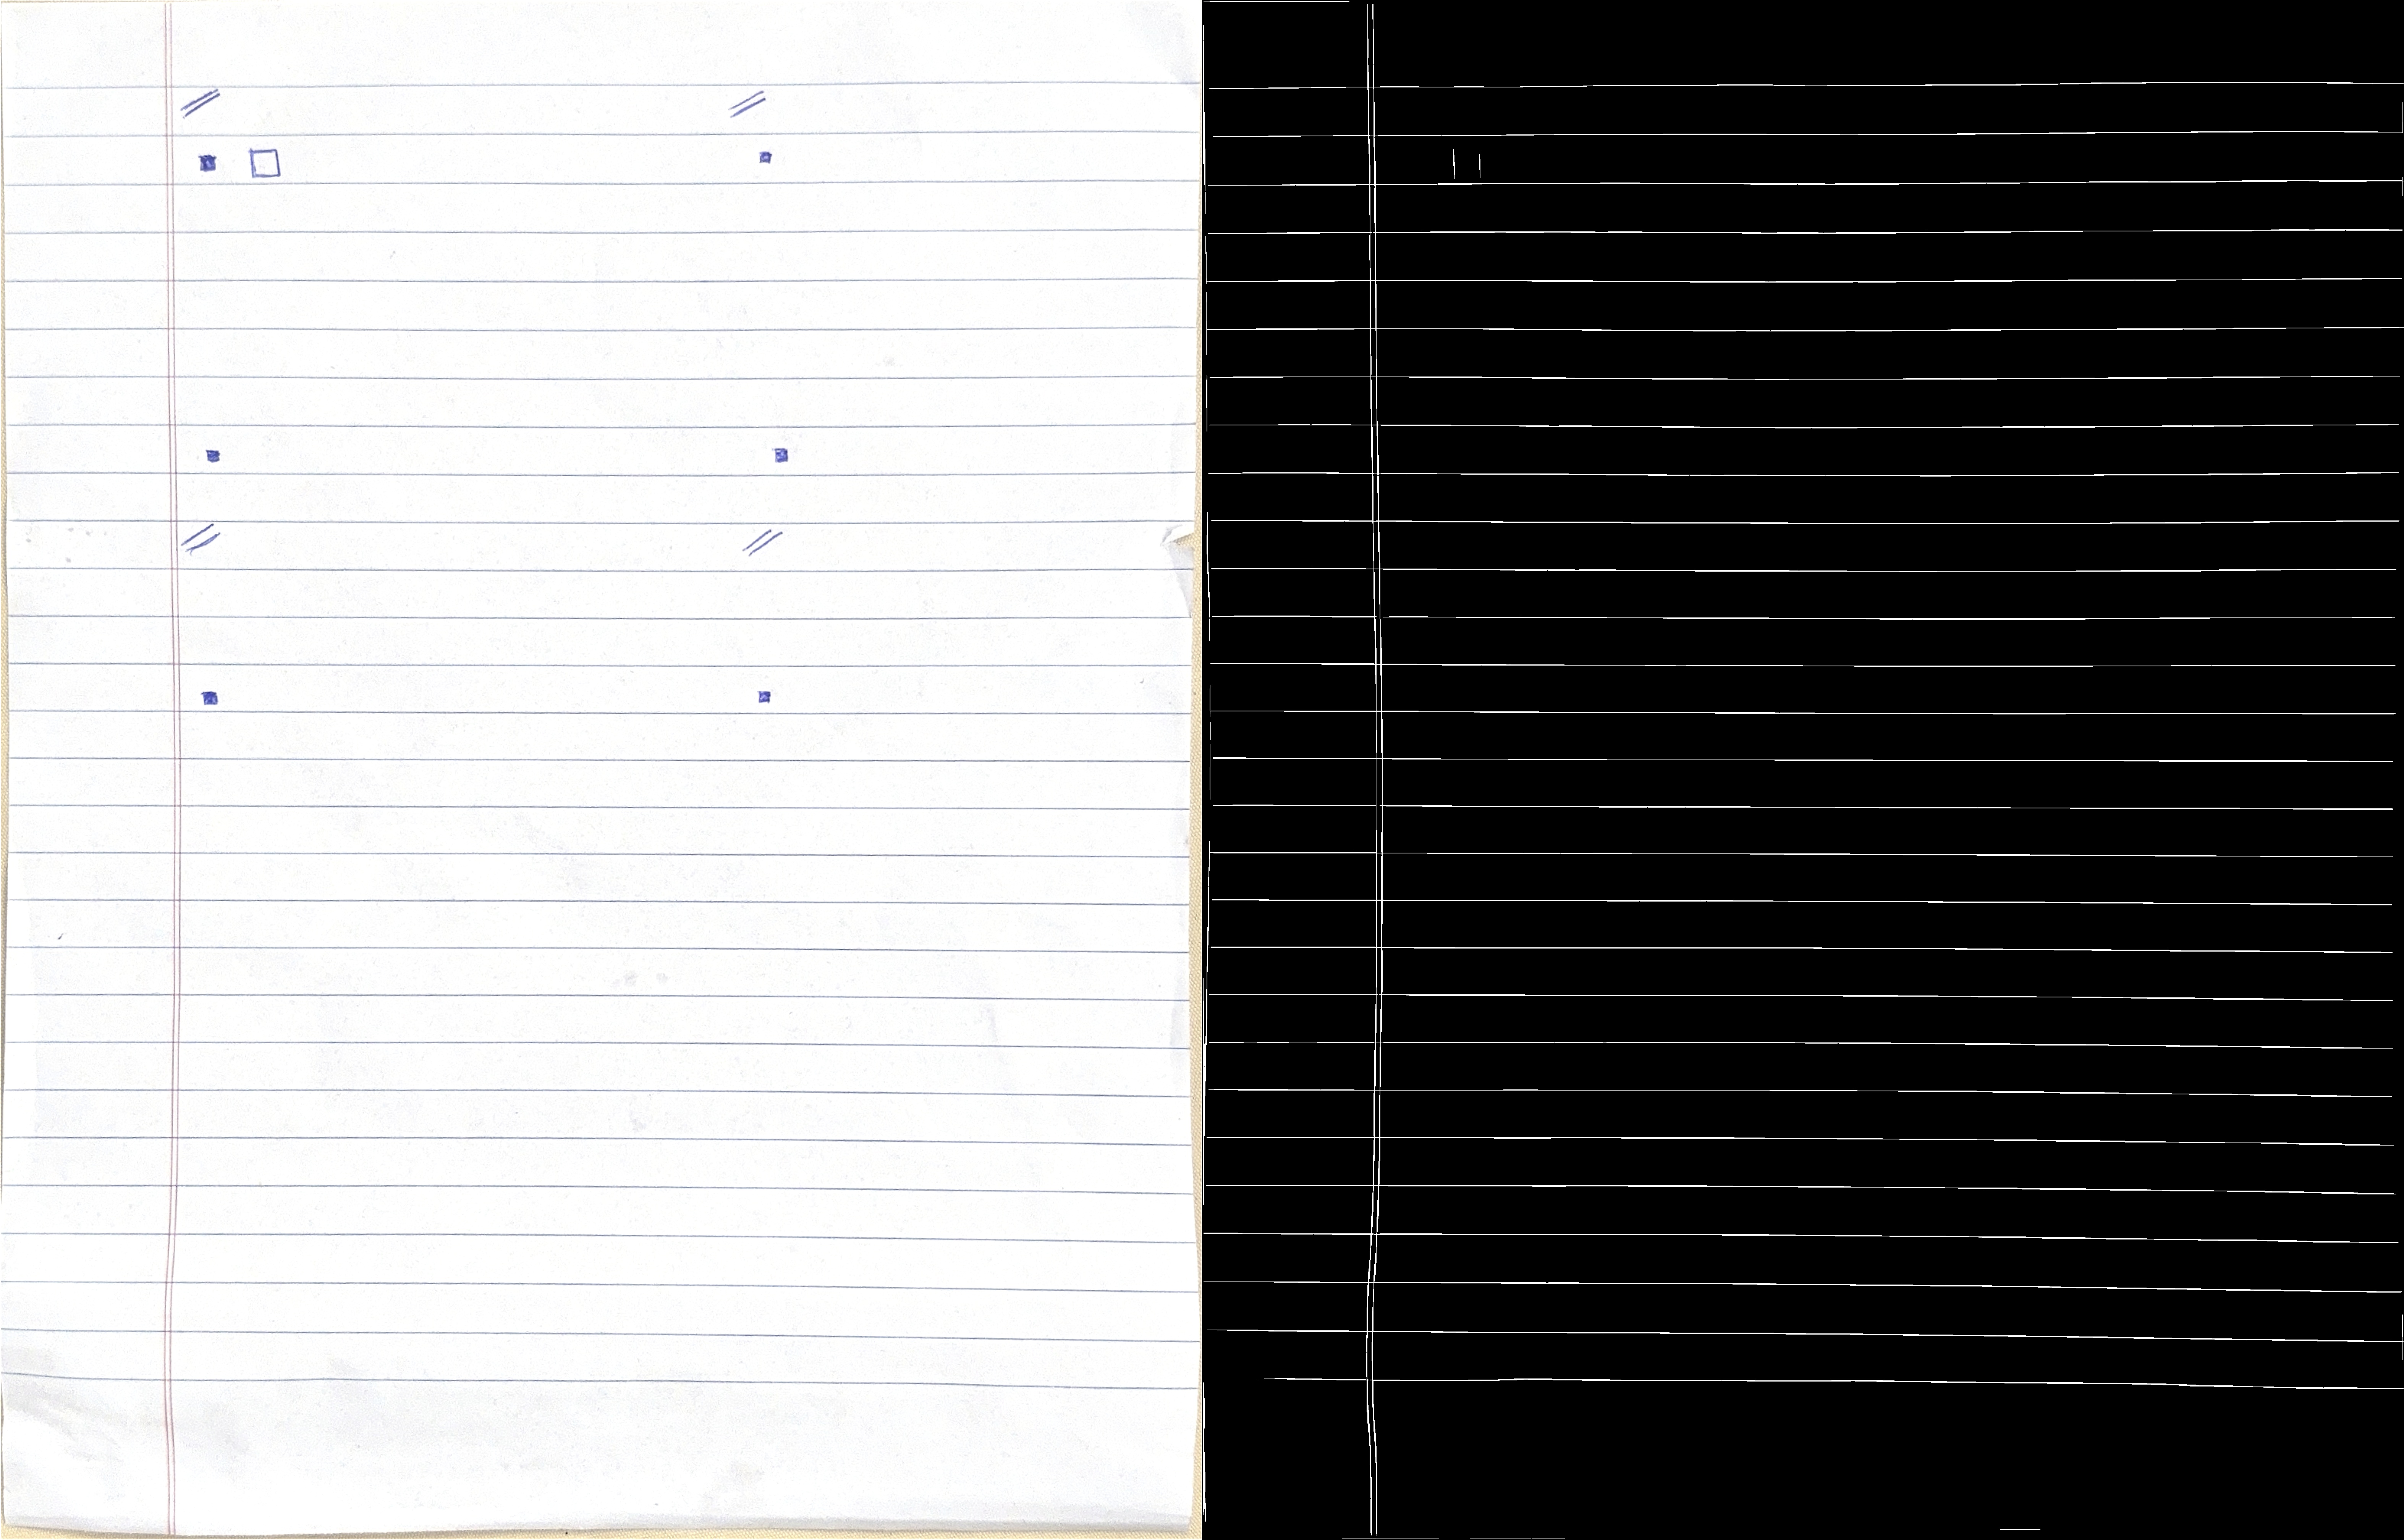
Find the Lines: First, we need to teach the computer how to see only the ruled lines. We'll create a "mask," which is basically a black-and-white map where all the ruled lines are white and everything else (your handwriting, the paper) is black.
Erase and Reconstruct: Once we have our map of the lines, we can't just delete them—that would leave ugly gaps in your handwriting. Instead, we'll use a clever technique called "inpainting." The computer will look at the area around the line it's removing and intelligently fill in the blank space.
Final Polish: Lastly, we'll do a final cleanup to make the output image crisp, clean, and ready for the next step in our series.
Let's walk through the code and see how to implement each step.
Step 1: Load and Simplify the Image
Before we can do any fancy line detection, we need to load our image and simplify it. Color information is great, but for finding shapes like lines, it's just distracting noise. We can get everything we need from a simple grayscale version.
import cv2
import numpy as np

# --- 1. Load the image from the local path and pre-process ---
image = cv2.imread(image_path)
# Convert to grayscale for processing
gray = cv2.cvtColor(image, cv2.COLOR_BGR2GRAY)
Here, cv2.imread() loads our scanned note, and cv2.cvtColor() immediately converts it from a full-color image (BGR) to grayscale.
Step 2: Creating the Perfect "Line Mask"
This is where the real magic begins. Our goal is to create that map (the mask) that isolates only the ruled lines.
First, we turn our grayscale image into a high-contrast, black-and-white version. This is called binarization. We use an adaptive threshold, which is great at handling shadows or uneven lighting on the scanned page.
# Binarize the image to isolate foreground elements
binary = cv2.adaptiveThreshold(
    ~gray, 255, cv2.ADAPTIVE_THRESH_GAUSSIAN_C, cv2.THRESH_BINARY, 15, -2
)
Notice the ~gray? We invert the grayscale image first. This makes the text and lines (which were dark) become white, treating them as the "foreground" we want to analyze.
Now, how do we separate the straight lines from the curvy letters? With Morphological Operations. That sounds complex, but the idea is intuitive. Think of it like using special "stamps" to find shapes.
We design two stamps (or "kernels" in OpenCV lingo):
A long, flat horizontal stamp to find horizontal lines.
A tall, thin vertical stamp to find vertical lines.
# -- HORIZONTAL --
horizontal_kernel = cv2.getStructuringElement(cv2.MORPH_RECT, (40, 1))
detected_horizontal = cv2.morphologyEx(
    binary, cv2.MORPH_OPEN, horizontal_kernel, iterations=2
)

# -- VERTICAL --
vertical_kernel = cv2.getStructuringElement(cv2.MORPH_RECT, (1, 20))
detected_vertical = cv2.morphologyEx(
    binary, cv2.MORPH_OPEN, vertical_kernel, iterations=2
)
The cv2.morphologyEx function slides these stamps across our binary image. If the horizontal stamp fits perfectly over a shape, that shape must be a horizontal line! We keep it. If it doesn't fit (like on the curve of a 'g' or 'o'), we discard it. We do the same with the vertical stamp.
Finally, we combine our findings into a single mask.
# Combine the line masks
line_mask = cv2.add(detected_horizontal, detected_vertical)
The result, line_mask, is our precious map containing only the ruled lines from the page. Below is the picture of the generated mask.
Step 3: Erasing with Inpainting
Now that we know exactly where the lines are, we can erase them. As mentioned, just deleting them would be a disaster. We need to perform a "content-aware fill," and for that, we use inpainting.
First, we thicken our mask just a tiny bit using cv2.dilate. This ensures we erase the entire line, including any fuzzy anti-aliased edges.
# Dilate the mask slightly to ensure it fully covers the lines
kernel = cv2.getStructuringElement(cv2.MORPH_RECT, (3, 3))
dilated_mask = cv2.dilate(line_mask, kernel, iterations=3)
Then, we call the inpainting function on our original grayscale image, giving it the line mask as the area to "heal."
# Apply the inpainting algorithm on the ORIGINAL grayscale image
inpainted_image = cv2.inpaint(
    gray, dilated_mask, inpaintRadius=5, flags=cv2.INPAINT_NS
)
The algorithm looks at the pixels surrounding the masked areas and makes an intelligent guess about what should fill the gap. Since the gaps are just lines on a blank page, it fills them with the paper's texture, effectively making the lines vanish while leaving the nearby handwriting untouched.
Step 4 & 5: The Final Polish and Saving
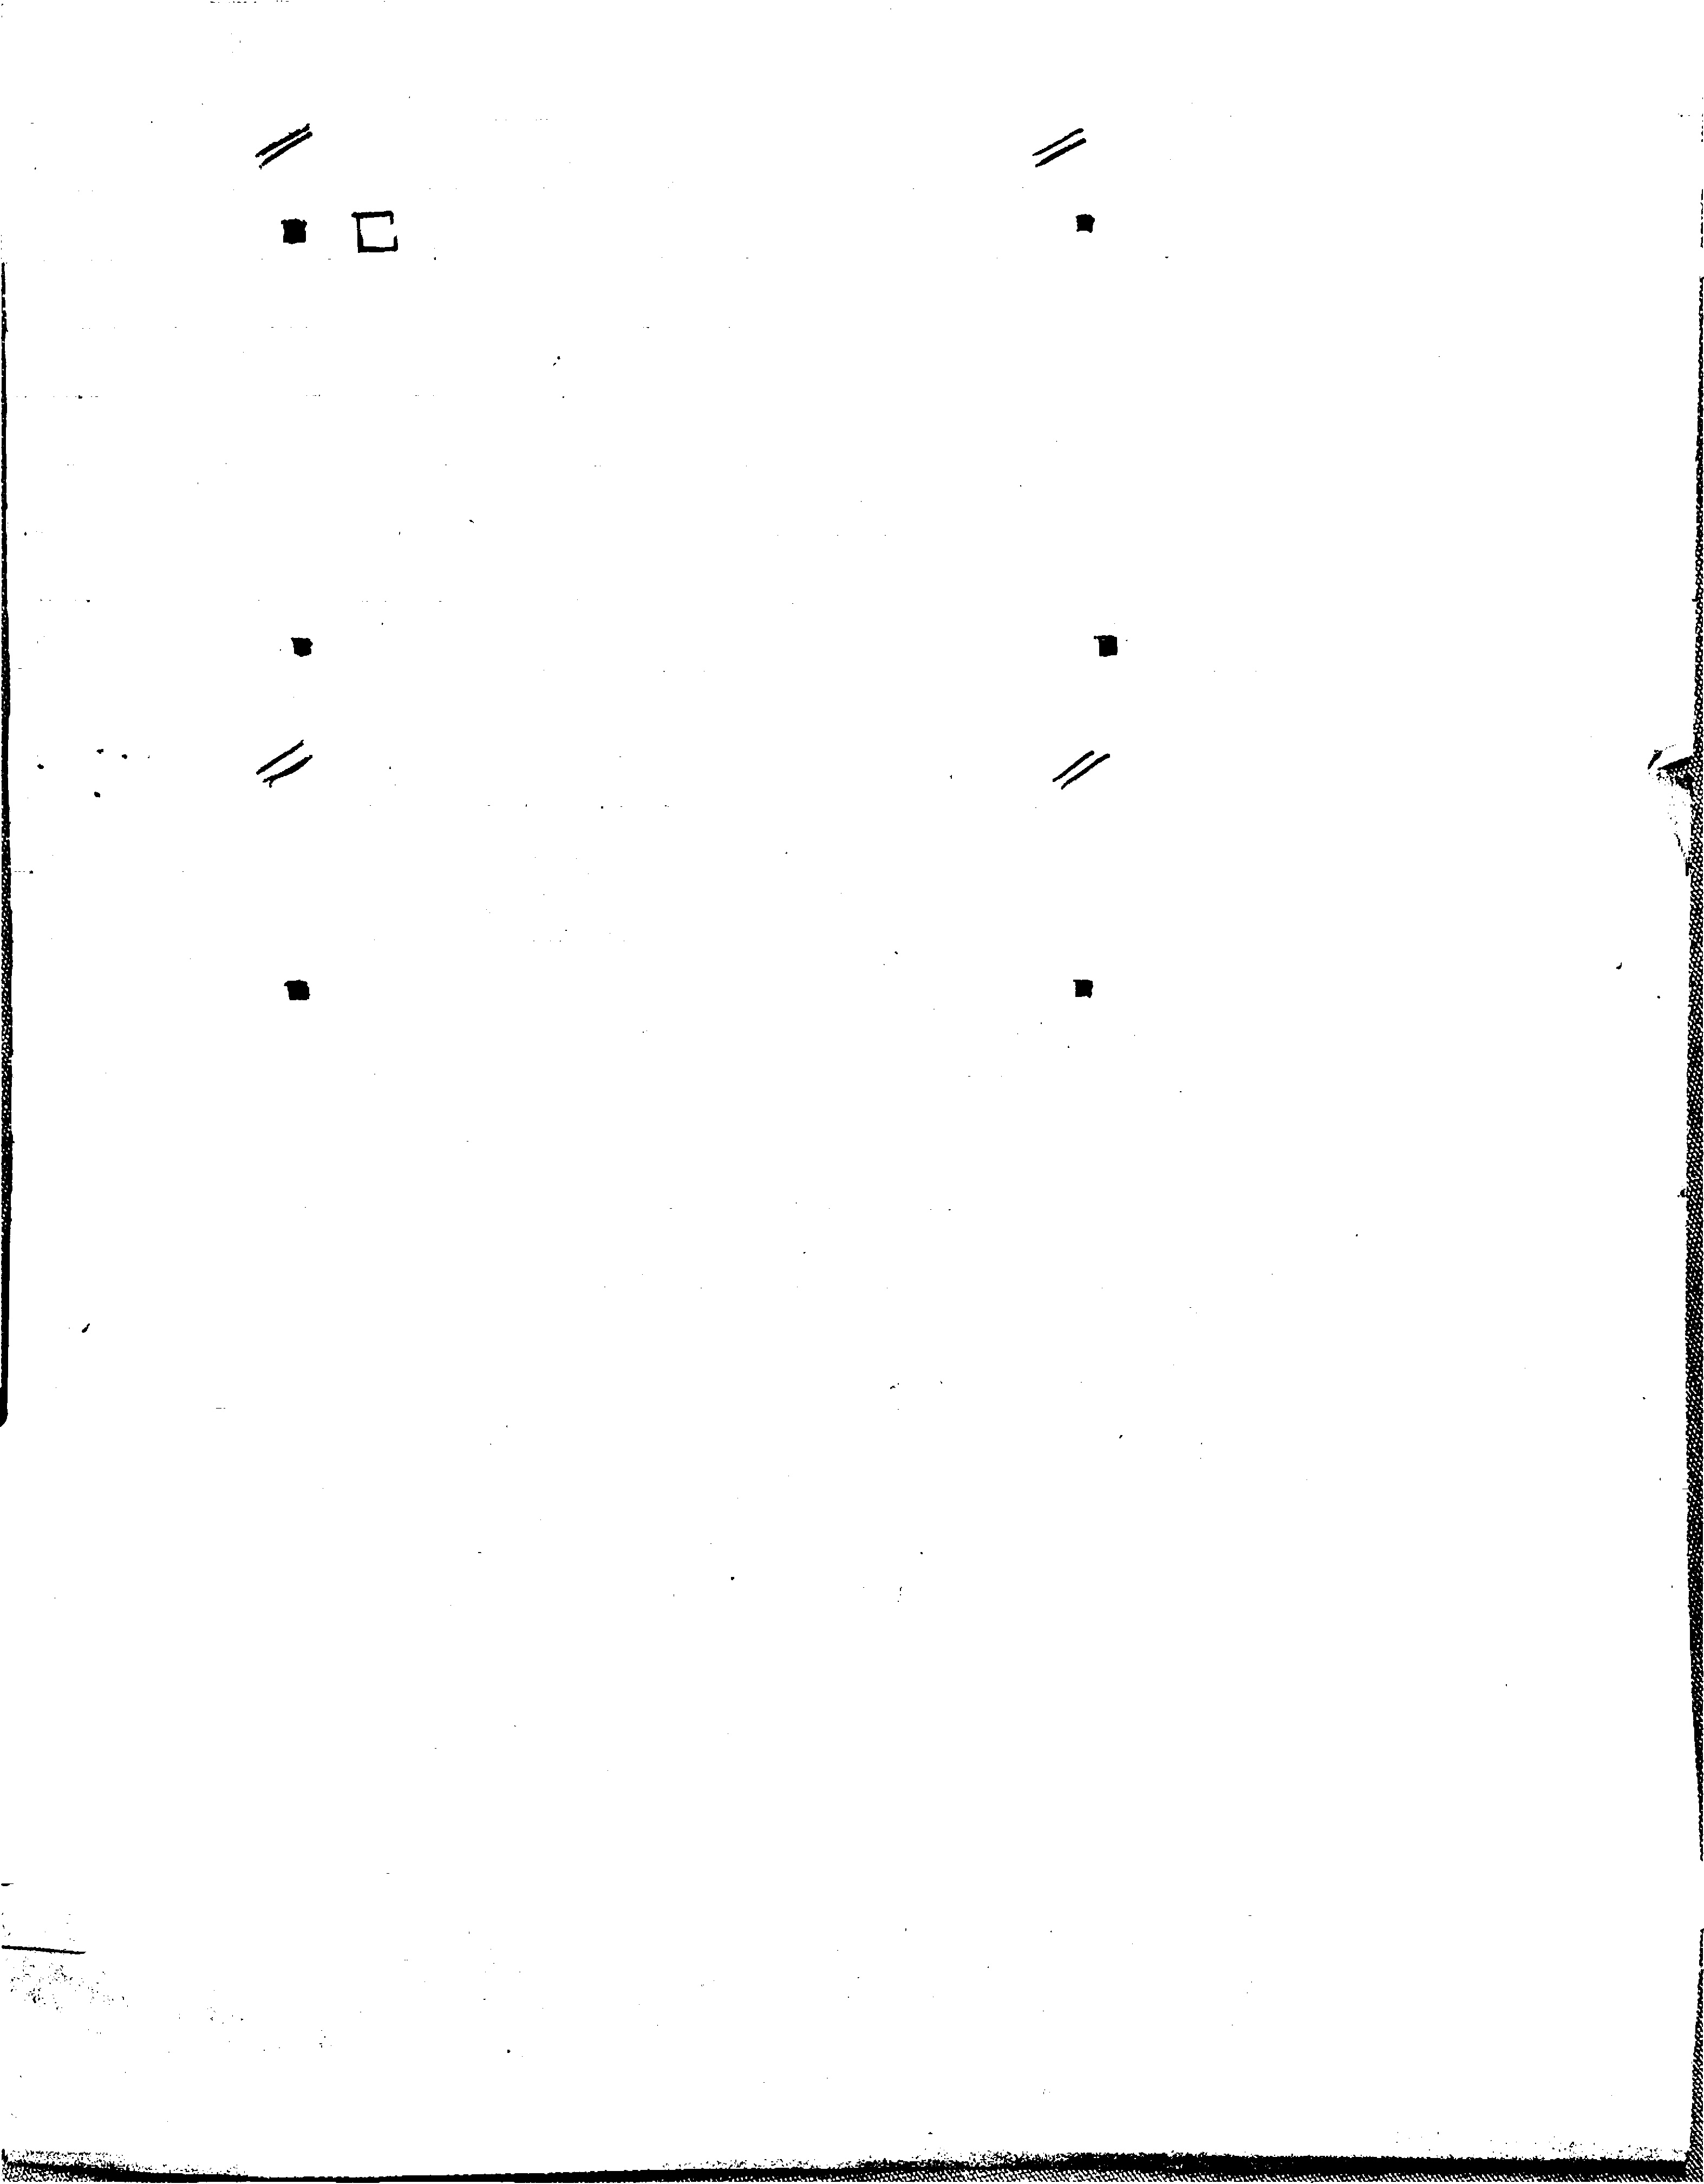
We're almost there! The inpainted_image looks great, but might have some faint gray smudges. To get a perfectly clean black-on-white result, we apply one last threshold.
# Binarize the inpainted image to get a clean, final result
final_image = cv2.threshold(
    inpainted_image, 0, 255, cv2.THRESH_BINARY | cv2.THRESH_OTSU
)[1]

# Save the result
cv2.imwrite(output_path, final_image)
This final binarization makes everything that's not pure white into pure black, giving us a super crisp, clean document. And with cv2.imwrite(), we save our beautifully healed document, now free of tje distracting lines!
And there you have it! A robust method for digitally erasing ruled lines. In the next part of this series, we'll look at how to take this clean image and start extracting the actual handwritten content.